
Installation Guide

Video Tutorial
Tools Needed:
Screwdriver (x1), Cutter (x1)
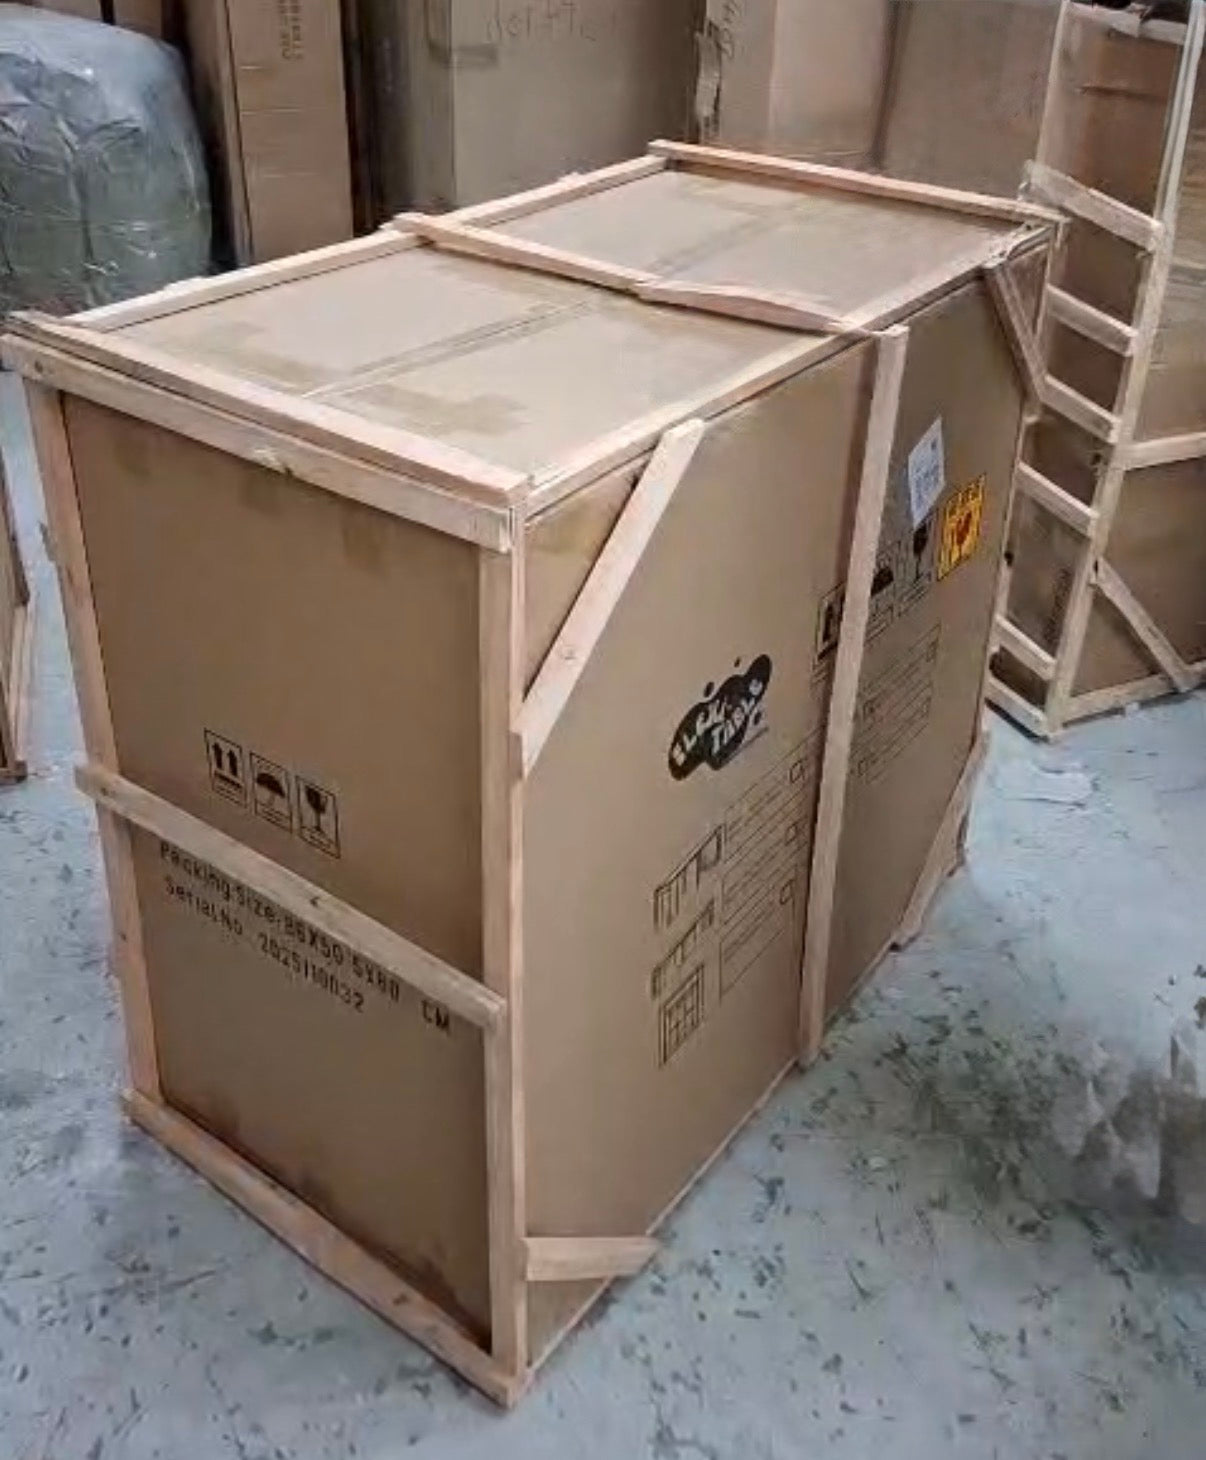
Phase 1: Unboxing
0. Remove the Wooden Frame
- If your package arrives with a protective wooden crate, use the screwdriver to pry off and remove the wooden frame surrounding the cardboard box.
1. Prepare the Box
- Flip the large cardboard box onto its side.
- Use the cutter to slice the tape along the bottom flaps of the box and open them completely.
2. Remove the Packaging
- Flip the box back upright so it stands on the bottom flaps you just opened.
- Lift the cardboard box straight up to remove it, revealing the table inside.
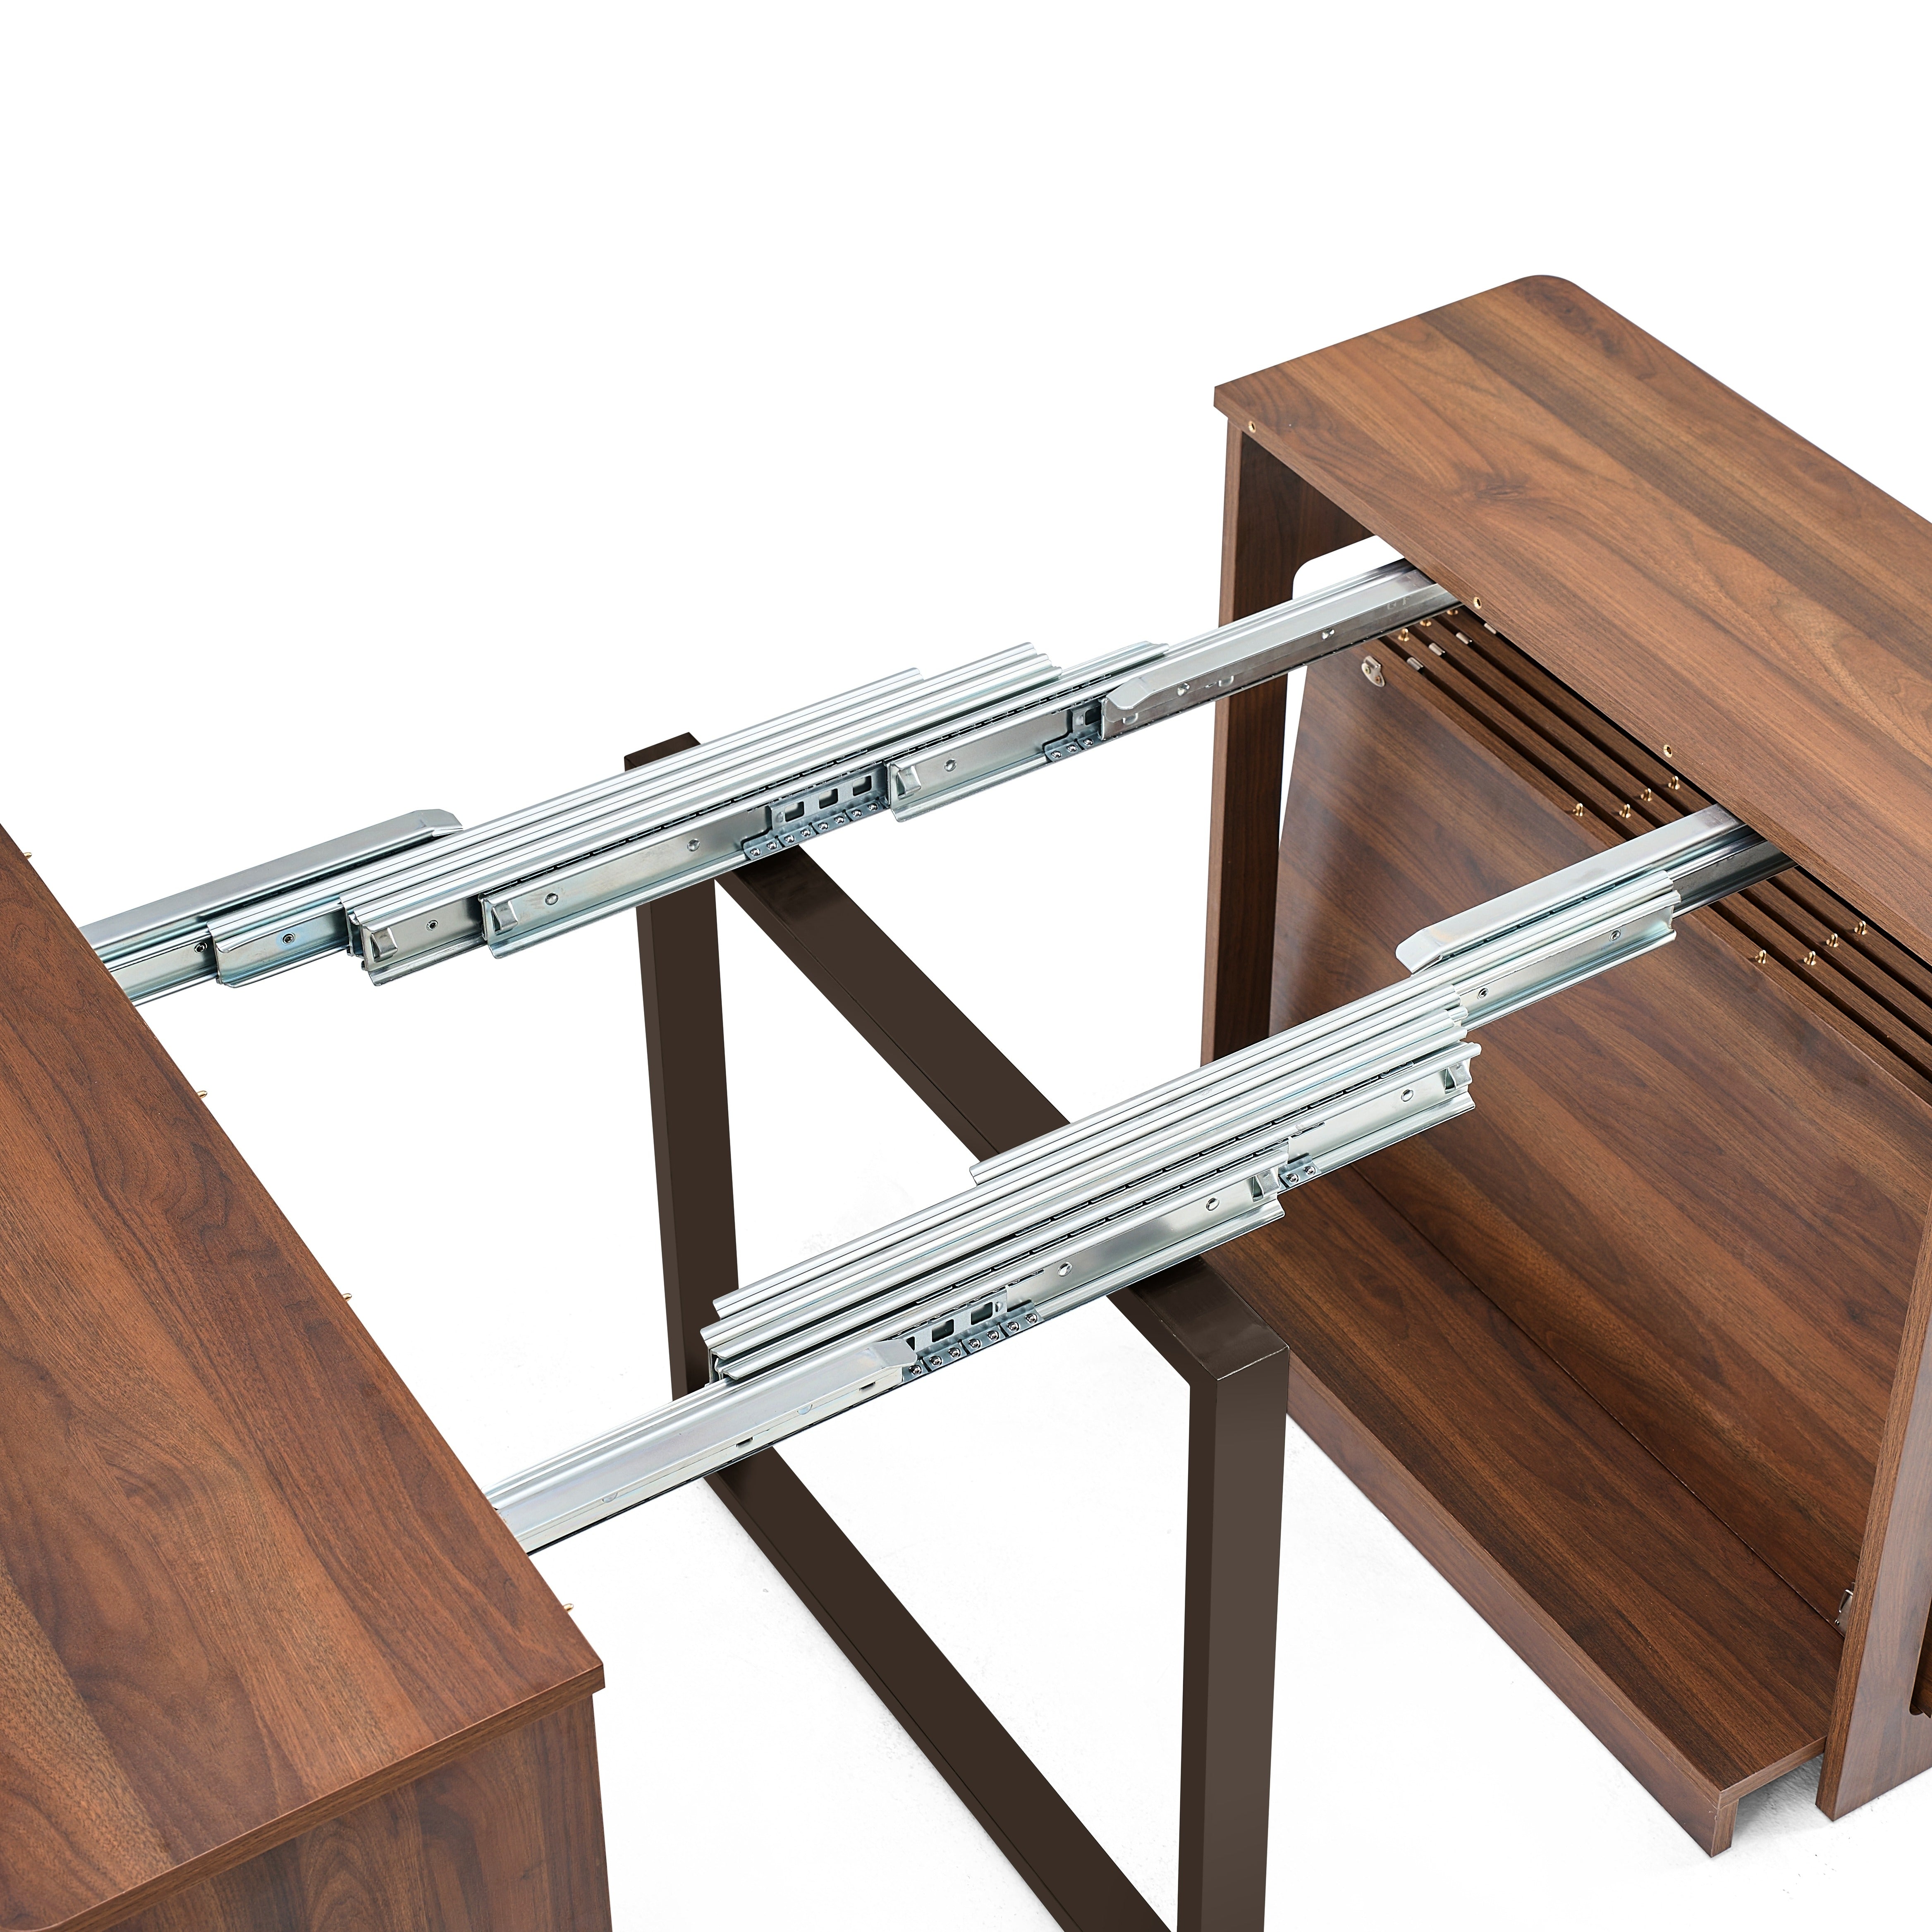
Phase 2: Assembly
3. Extend the Table Frame
- Locate the locking latches underneath the table frame and unlock them.
- Pull the ends of the table apart to extend the rails fully.
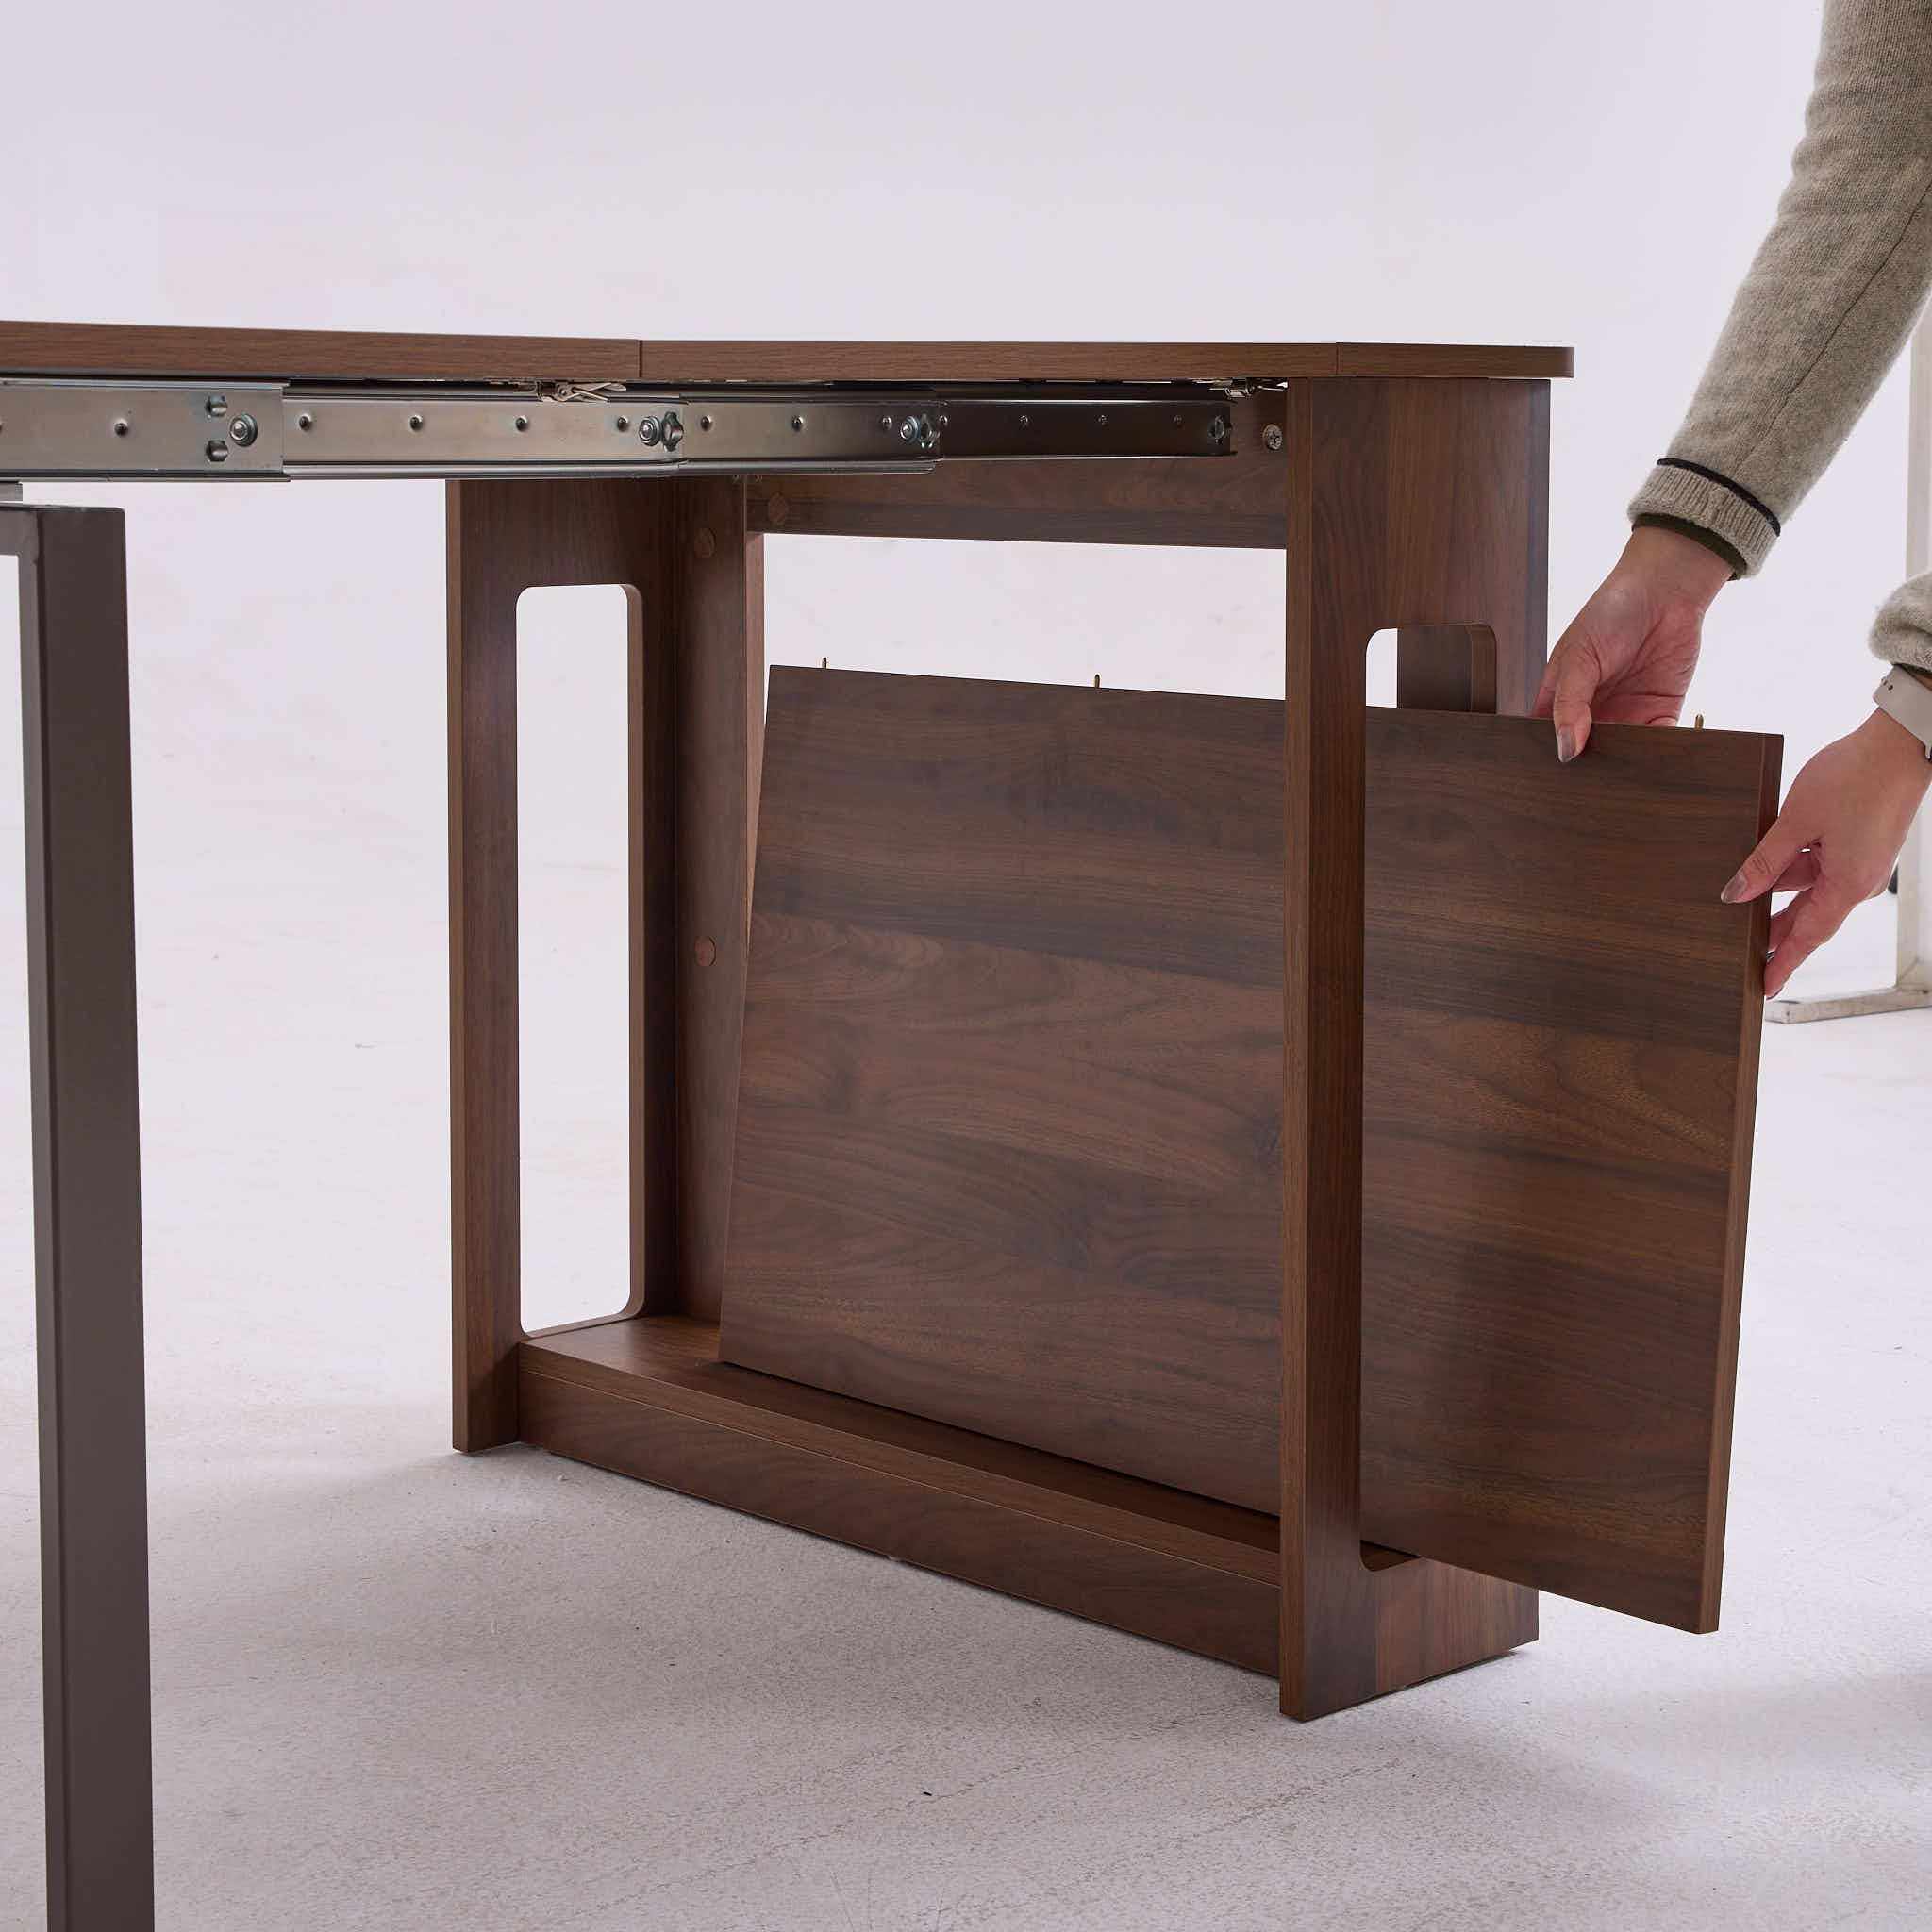
4. Unbox the Table Tops
- Use the cutter to open the separate package containing the additional table top panels.
5. Insert Table Tops and Accessories
- Place the table top panels onto the extended rails, sliding them until they fit snugly together.
6. Secure the Table
- Locate the latches underneath the newly installed table top panels and lock them to secure the surface in place.


Phase 3: Completion
7. Enjoy Your Flexi-Table
- Your table is now fully assembled and ready for use.